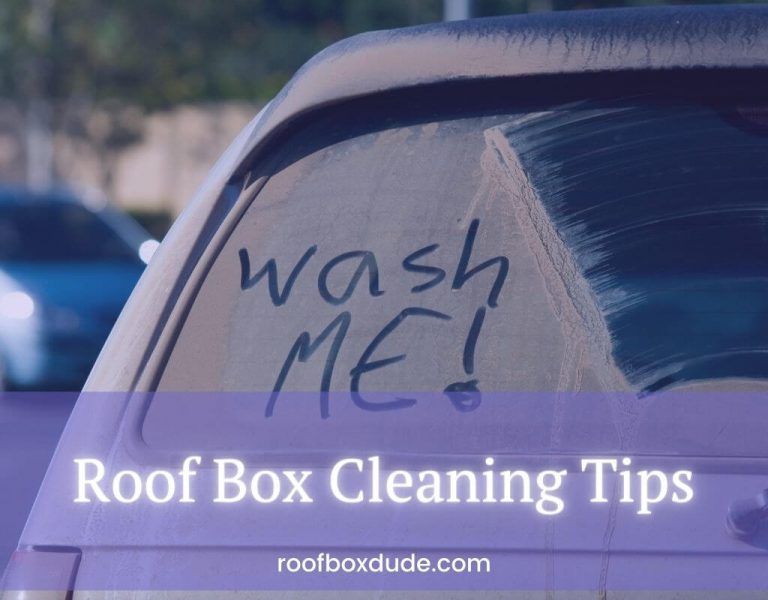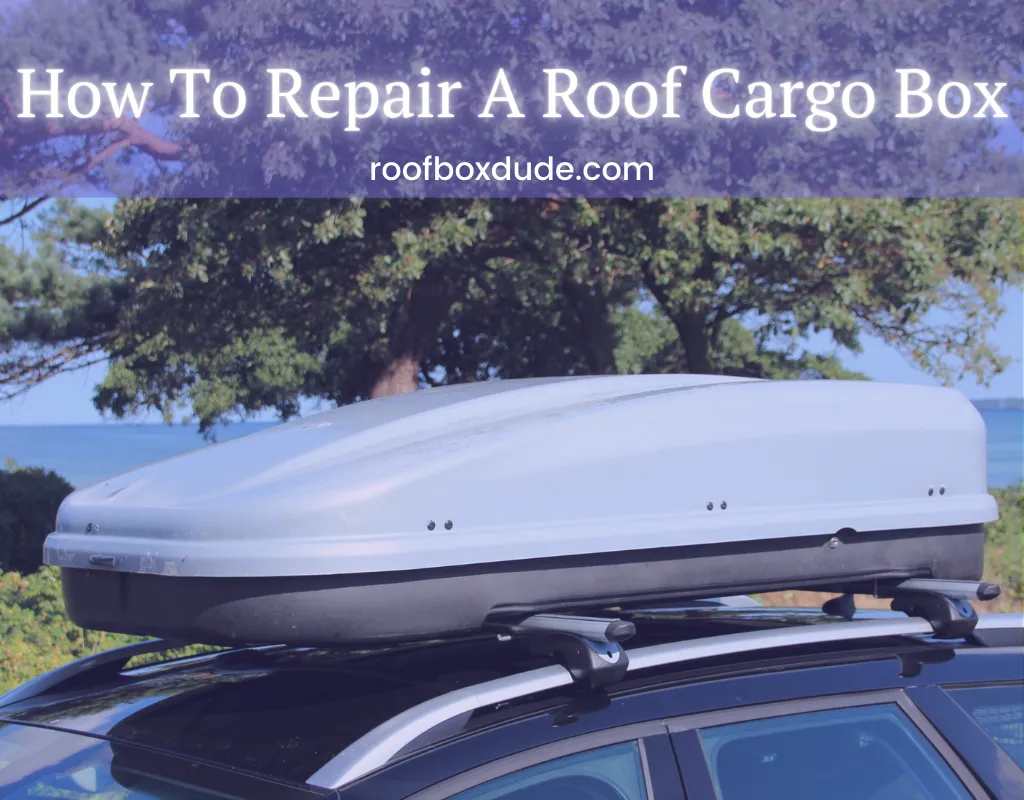
How To Repair A Roof Cargo Box
Are you looking for a way to repair your roof cargo box? You’re not alone! Many people find that their roof cargo boxes need maintenance and repairs from time to time.
Don’t worry, it’s totally possible to fix it on your own without having to hire someone. In this article, we’ll go over the steps necessary to get your roof cargo box sorted in no time.
Identifying Types Of Damage
Damage can range from small holes or cracks in the material of a box all the way up to broken hinges and latches.
Here are three things you should look for when inspecting your roof cargo box for damage:
- Holes or Cracks – If there are any punctures or breaks in the plastic material this will require repairs before being mounted on top of your vehicle again.
- Broken Hinges/Latches – Make sure none of these parts have been damaged as they are necessary for keeping the lid shut while driving and securing gear inside.
- Weak Adhesion – Check that all adhesive pieces such as ABS cement used to attach mounting brackets to your car remain strong enough to hold during long drives and bad weather conditions.
It’s essential to check carefully for signs of wear and tear so you can repair them quickly and safely get back out on the road.
Preparing For Repairs
First step: gather all necessary supplies. Make sure that you have everything you need to complete the repair job properly. This includes flex tape, heat gun, rubber gloves and other tools or materials that may be required such as epoxy. Get organized by laying out these items in an orderly fashion near the area being repaired. Now it’s time to take action! Table | Description
Keep safety in mind throughout this project – wear protective clothing and use caution when working with any type of tool or equipment. With proper preparation, your repair will soon be finished and your roof cargo box looking better than ever!
Tape For Cracks And Holes
Let’s look at repairing small cracks or holes first.
You want to hold the cracks together so that your cargo stays safe while traveling.
One of the best ways to do this is with flex seal. It’s like glue but much stronger. Just make sure to apply it properly and give it plenty of time to dry before trying to use the cargo box again!
Using flex seal will help keep everything secure for many years to come. It’s easy enough for anyone to use, whether you’re experienced in DIY or not. Plus, there are no harsh chemicals involved so you won’t be putting your family at risk by using it.
Resin For Gaps And Cracks
If you want to repair a Thule rooftop box, it’s easy. All you need is some ABS plastic and the right tools.
First, clean the damaged area of any dirt or debris; this helps make sure your repair looks great when you’re finished.
Next, fill in any gaps or cracks with resin. Make sure that all of the edges are even and smooth before letting it dry completely. This will help ensure an effective seal so your repairs last longer.
Once the resin has dried, use sandpaper to buff out any bumps or unevenness. You can also use a cloth to wipe away any residue left behind from the sanding process.
Finally, apply several coats of paint until your repair job looks like new again! With just a bit of time and effort, you’ll have a cargo carrier that looks as good as new – without having to buy a replacement!
Sand And Paint For Finishing
Now that your cargo box is repaired, it’s time to give it a fresh new look. The best way to do this is with sandpaper and paint.
Sanding down the surface of the box will help smooth out any rough edges created by the repair process. Once you’ve finished sanding, use a primer before applying two coats of paint for a professional-looking finish.
Be sure to let each coat dry completely before adding another layer on top. After the final coat has dried, you can enjoy your newly restored storage box!
With just a bit of effort and some basic tools, you’ll have it looking like it’s brand new again.
For a detailed repair guide check out this post from Epoxy Craft.
Accessories For Extended Life
Taking proper care of the roof storage box will also help ensure it lasts for many years to come.
To extend the life there are several accessories available:
- A lock to protect against theft
- Lubricant that prevents rusting and corrosion
- A cover to keep dirt and dust away from the surface when not in use
Making sure you have these items with you can save time, money, and effort in the long run. It’s important to regularly check on them as well; make sure they are still working properly and that nothing needs replacing.
Regular maintenance keeps everything running smoothly so you don’t have any surprises down the line!
Impact Of Small Cracks And Holes
It may not seem like it, but small cracks and holes can cause big problems! It’s funny that something so tiny could be a huge issue – if you don’t fix these issues quickly, they might grow bigger.
If you use your carrier a lot then any cracks or holes will only get worse over time. If left unattended, those little flaws can turn into larger ones potentially making the box unusable.
For example, holes can lead to water leaking through or even items inside getting wet when it rains! To keep your belongings safe, make sure to fix all cracks and holes as soon as possible.
Looking for some tips on cleaning your cargo box?
Repairing Large Damage And Holes
If you have a hole that is bigger than an inch then it’s time to get down to work.
First, make sure the repaired area is clean and dry before beginning any repairs.
Use sandpaper on the inside of the box to smooth out any rough edges, this will help create a better seal for when we apply the patch. Use coarse sandpaper (80 grit) as this will help the adhesion of the resin or other product.
Next, use small pieces of duct tape or sheet metal screws with washers to hold the patch on while it dries.
Lastly, once everything has been secured you can now fill in any gaps with silicone caulk or expanding foam insulation.
This should be enough to ensure that no water can penetrate into your cargo box!
How To Repair A Roof Cargo Box: Conclusion
In conclusion, repairing a roof cargo box is a great way to save money and extend its life. It’s important to inspect your box regularly for any signs of damage so you can fix it before things get out of hand.
Once you’ve identified the problem, take the necessary steps to make repairs using tape or resin as needed. With just a little bit of effort you can get your roof box back in shape for the cost of a few dollars.
Remember: an ounce of prevention is worth a pound of cure when it comes to maintaining your roof cargo box. Make sure to check all parts and accessories often and replace them if they show any signs of wear and tear.
Taking these precautions will keep your roof box looking good for years to come.
Thinking of getting a new box? Check out my buying guide or if you are looking for a large carrier then check this article.